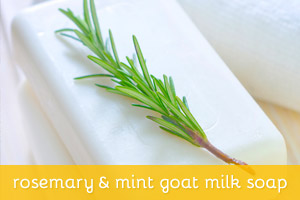
In this recipe, the combination of lard, coconut oil and shea butter makes for a nice hard bar that lasts very long in the shower. It’s naturally white, with a lovely creamy lather, although not overly bubbly.
The shea butter locks in the moisture and the castor oil helps stabilize some of the bubbles, while the goat milk brings extra creaminess and moisturizing power. The rosemary and peppermint essential oils make an interesting combination with skin-soothing properties.
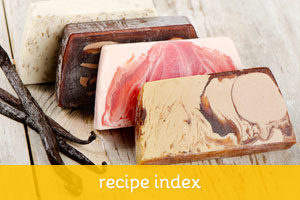
Soaps made with a high amount of lard or tallow are actually pretty awesome soaps. Properly rendered lard (or tallow) doesn’t smell. If you it’s your first time working with this ingredient and you’re worried about the “eek” factor, you can buy can buy pre-rendered, hydrogenated lard from the store. Personally, I wouldn’t cook with anything hydrogenated, but for soap making I don’t think it matters that much.
For the brave of heart, you can also render your own lard at home. You can get lard and tallow trimmings very cheap (or even free) at your local butcher or supermarket. These usually get thrown away.
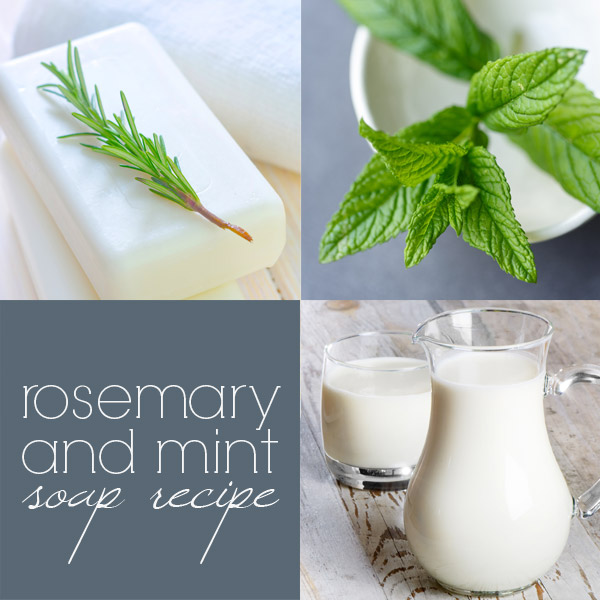
Rosemary & Mint Goat Milk Soap Recipe
- 52% lard
- 29% coconut oil
- 13% shea butter
- 6% castor oil
- goat milk
- lye (NaOH)
- rosemary EO and peppermint EO (total amount of EO should be between 0.5 to 1 oz PPO — per pound of oils)
For 1 pound at 7% superfat:
- 8.32 oz lard
- 4.64 oz coconut oil
- 2.08 oz shea butter
- 0.96 oz castor oil
- 6.08 oz goat milk
- 2.245 oz lye (NaOH)
- 0.4 oz rosemary EO
- 0.4 oz peppermint EO
Instructions And Tips For Making Goat’s Milk Soap
In homemade soap making, you can use other liquids other instead water for your lye solution, such as teas, coffee and even fruit juices. One of the the most popular alternatives to water is milk — more specifically, goat’s milk. Goat’s milk can make a rich and creamy soap that moisturizes and nourishes the skin.
There are a couple of caveats when working with milk, though. If you let the mixture get too hot, the sugars naturally present in the milk will burn, turning your soap a light-amber color and producing a foul odor. The smell will go away when the reaction is finished, but the soap will remain a brownish color.
The resulting soap works just fine, but if you want to keep your bar white, here’s what you have to do: the day before your soap making session, pour the milk into ice cube trays or a freezer-friendly container. Since you want to keep the temperature down throughout the process, it’s best to work with frozen or slushy milk and pour the lye very slowly. Use a thermometer and keep an eye on the temperature. If it goes above 100 degrees, stop and wait until it cools down.
It may take a while to pour all the lye, specially if you’re making a large batch. Patience is the key here. You can also put the whole bowl in a ice bath to help keep temperatures down. Keep in mind that a saponification reaction may start to occur, since the milk has some fat in it.
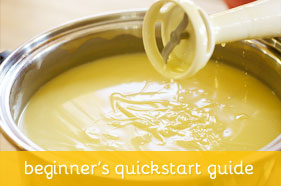
Once your lye solution is ready, set it aside and proceed to melt your oils. Don’t heat the oils too much, just enough for them to blend together. Turn off the heat and let the oils cool down to 80 degrees to 90 degrees Fahrenheit or less. This is specially important as you’re working with milk.
When both your oils and your lye solution are around 80 to 90 degrees, slowly begin pouring the lye mixture into the oils. Stir manually at first, until you get even texture and color. Now you can use a stick blender. Mix thoroughly until light trace, then add your essential oils and mix some more.
As the soap starts to thicken, pour into molds. If you want to make sure your bar will stay white, don’t insulate. Put the whole mold in the freezer as soon as your finished, and the cold temperature will prevent your soap from going through gel stage.
Keep in mind that wood molds insulate very well, so even if you put it in the freeze it may still go though gel stage in the middle, specially if you’re working with a deep log mold. Acrylic and silicon molds are best for this recipe, or shallower molds that don’t retain as much heat.
After 24 hours, remove from mold, cut and let it cure for 6 to 8 weeks in a well ventilated area, preferably in a cooling rack. Enjoy your soap!